


Treating Blisters on Trail: Your Complete Guide to Prevention and Emergency Care
After over 15 years of hiking trails across North America and treating countless blisters on remote wilderness paths, I've learned that treating blisters on trail is both an art and a science. From my early mistakes on the Appalachian Trail to mastering prevention techniques during my PCT section hikes, this comprehensive guide shares everything I've discovered about keeping your feet healthy during multi-day adventures. Visit Nature Guests for more expert outdoor guidance.
Understanding What Causes Blisters on Trail
During my first attempt at treating blisters on trail, I made the classic mistake of thinking friction was the primary culprit. After consulting with wilderness medicine experts and experiencing countless trail situations, I discovered that blisters actually form due to shear forces - the back-and-forth movement of skin layers caused by repetitive motion. This revelation completely changed how I approach blister prevention and treatment.
The process begins when your foot bones move within your boot with each step, creating internal shear between skin layers. When this movement becomes excessive - often due to poor boot fit, wet conditions, or inadequate sock systems - microscopic tears develop beneath the skin surface. Fluid then accumulates in these damaged areas, forming the characteristic bubble we call a blister. Understanding this mechanism is crucial because it shifts our focus from merely reducing surface friction to minimizing internal foot movement.
Heat and moisture accelerate this process significantly. I've noticed during summer hiking in places like the Grand Canyon that elevated temperatures soften skin, making it more susceptible to shear damage. Similarly, wet conditions from stream crossings or excessive sweating create an environment where skin layers slide more easily against each other. The combination of these factors explains why challenging weather conditions during hiking often correlate with increased blister incidents.
Research shows that most trail blisters occur within the first 2-3 days of multi-day hikes, when feet haven't yet adapted to the repetitive stress. This aligns with my experience leading group hikes - newcomers consistently develop problems before veterans, regardless of gear quality. The key insight is that successful blister management requires both immediate tactical responses and long-term conditioning strategies.
Prevention Strategies for Trail Blisters
My most effective approach to treating blisters on trail actually begins weeks before hitting the trailhead. Prevention remains infinitely easier than field treatment, especially when you're carrying a multi-day pack through challenging terrain. The foundation of any prevention strategy lies in proper footwear selection and conditioning.
Pro Tip from the Trail
I always buy hiking boots a half-size larger than my street shoes and test them with the exact sock system I'll use on trail. This accounts for foot swelling during long hiking days and prevents the tight spots that create shear forces.
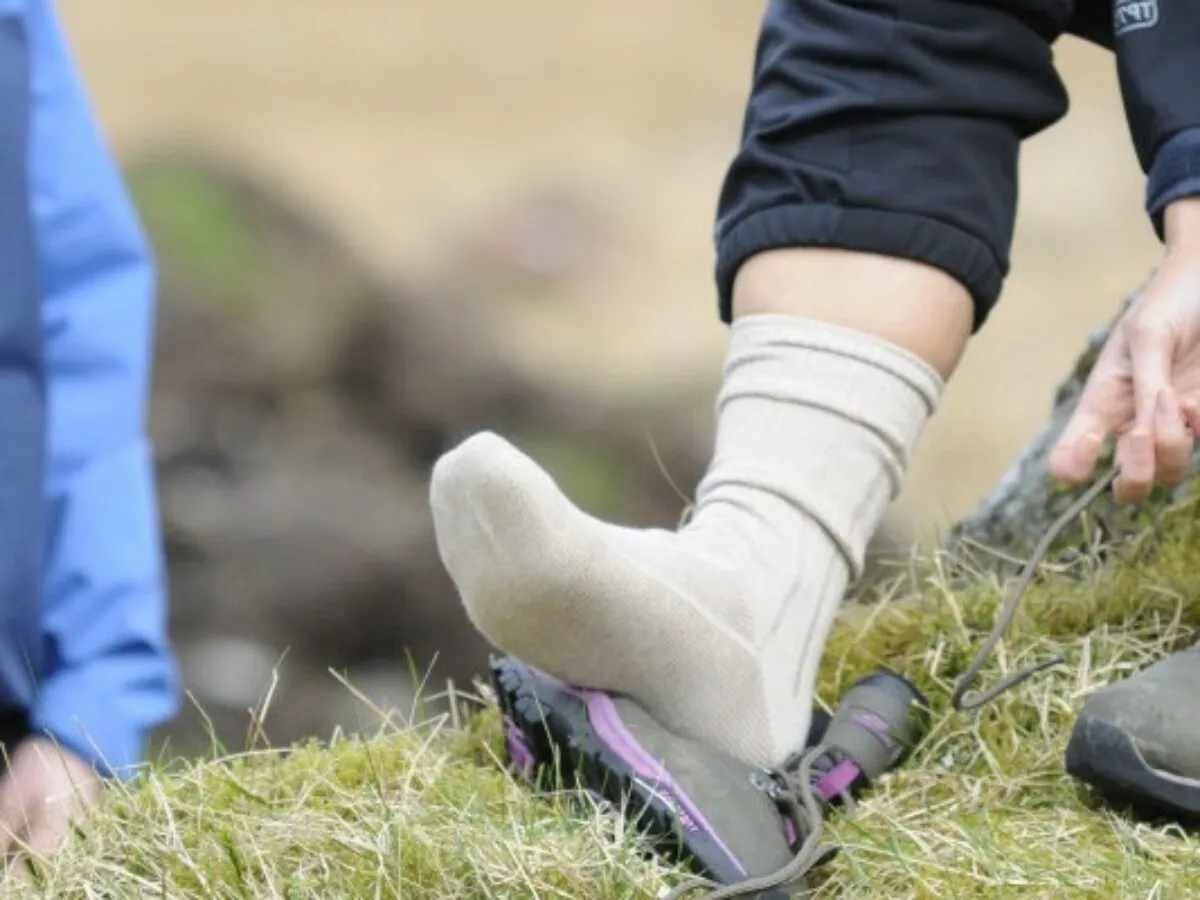
Boot fit is arguably the most important element in preventing blisters on the trail. From my experience consulting with other hikers, I always stress that boots should feel slightly roomy when you first try them on. This extra space accounts for the natural swelling that occurs during long hikes, especially at higher elevations or in hot conditions. I learned this lesson firsthand during summer backpacking trips in the Sierra Nevada—boots that felt perfect in the cool morning quickly became unbearably tight by afternoon, turning every mile into a painful reminder of why proper fit matters.
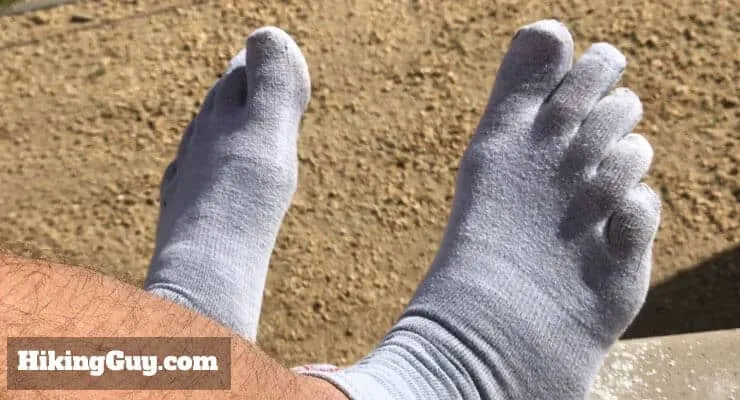
Shop Premium Hiking Boots - Prevent Blisters from Day One!The sock system deserves equal attention in any prevention strategy. I exclusively use a double-sock approach: thin liner socks against the skin topped with cushioned hiking socks. This creates a friction interface between sock layers rather than between sock and skin. My preferred combination involves merino wool liners for moisture management and synthetic blend outer socks for durability. This system has proven effective during everything from humid Appalachian summers to dry Colorado fourteener ascents.
Foot conditioning plays an equally important role in prevention. I gradually increase my hiking mileage over several weeks before major trips, allowing my feet to develop appropriate calluses and muscle strength. This progressive approach helps feet adapt to the repetitive stress of extended hiking without developing the acute inflammatory response that leads to blisters. Additionally, I maintain a daily foot care routine that includes gentle exfoliation and moisturizing to keep skin healthy and resilient.
Recognizing Hot Spots Before They Become Blisters
Early detection represents your best opportunity for successful treating blisters on trail before they become debilitating problems. Hot spots - those initial areas of redness and tenderness - serve as your early warning system. I've developed a systematic approach to monitoring and addressing these precursor symptoms that has saved countless hiking days.
The sensation typically begins as a warm, slightly uncomfortable feeling in a specific foot area. Unlike general foot fatigue, hot spots present as localized heat and sensitivity that persists or worsens with continued movement. I teach hikers to perform quick foot checks during every rest stop, looking for any reddened areas or spots that feel tender to light touch. This proactive monitoring becomes especially critical during the first few days of multi-day hikes when blister risk peaks.
Timing your response correctly makes the difference between minor trail maintenance and major treatment sessions. The moment you feel that characteristic warm sensation, stop hiking immediately. Remove your boots and socks to assess the area visually and tactilely. Hot spots typically appear as slightly reddened skin that feels warm and may show minor swelling. At this stage, intervention remains simple and highly effective.
Environmental factors significantly influence hot spot development patterns. During wet conditions or after stream crossings, I pay extra attention to areas between toes and around the heel where moisture tends to accumulate. Similarly, challenging terrain that affects your gait can create unusual pressure points that develop into hot spots. Understanding these risk factors helps you anticipate problems before they manifest as painful symptoms.
Essential First Aid Treatment for Trail Blisters
When prevention fails and you're faced with an actual blister, proper treatment becomes critical for continued hiking safety and comfort. My approach to treating blisters on trail has evolved through years of wilderness experience and consultation with medical professionals specializing in outdoor medicine. The key lies in treating different blister stages appropriately while maintaining sterile technique in challenging field conditions.
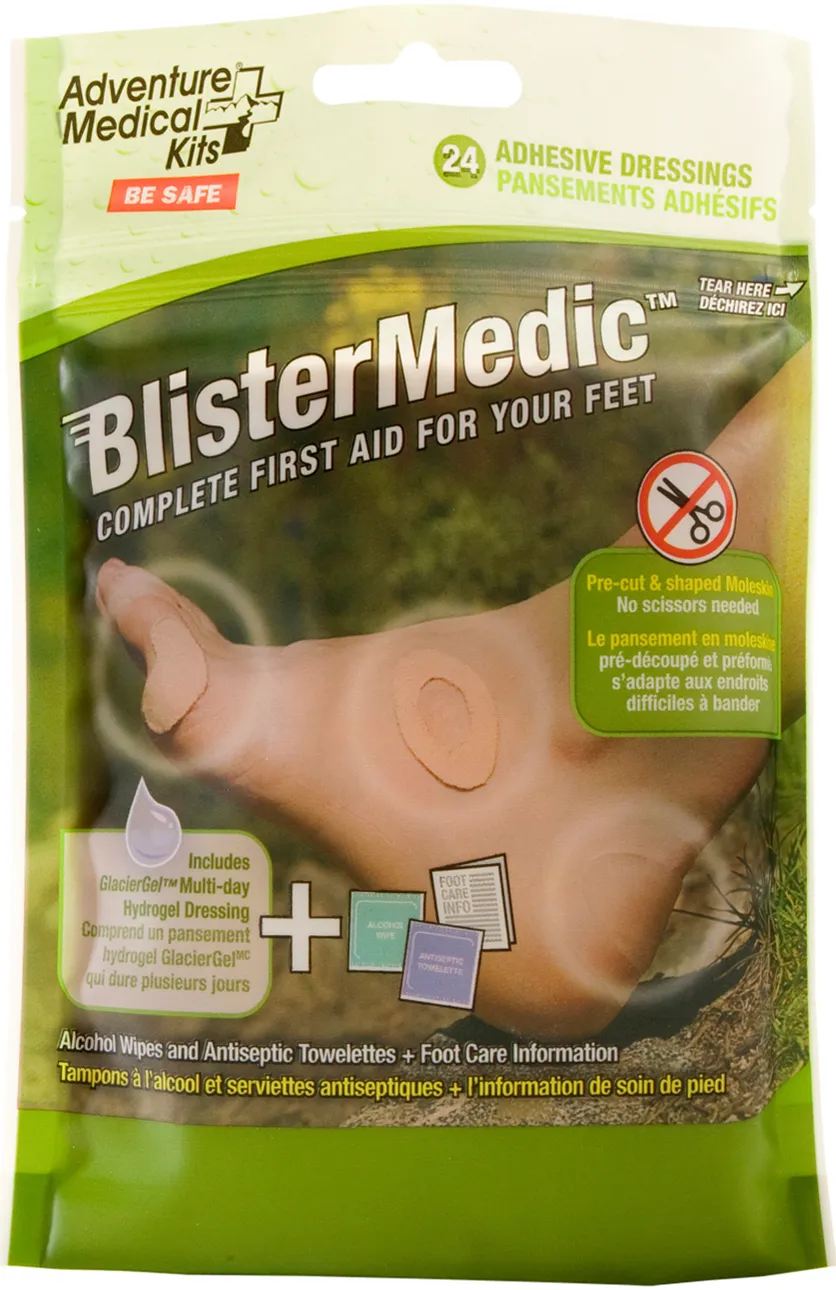
For intact blisters (roof still attached), the primary goal involves protecting the area while minimizing further damage. I start by cleaning the surrounding skin with antiseptic wipes, then carefully dry the entire foot. The blister itself should not be punctured at this stage unless it's extremely large and interfering with walking. Instead, I apply a protective doughnut-shaped moleskin pad around the blister, creating a buffer zone that prevents direct pressure and friction.
Get Professional Moleskin Blister Dressings - Trail Tested!Torn or deroofed blisters require more aggressive intervention due to infection risk. After thorough hand cleaning, I gently clean the wound with saline solution or clean water, removing any loose skin debris. The exposed area gets treated with antibiotic ointment before applying a sterile adhesive bandage. I then surround this primary dressing with additional moleskin padding to create a protective environment that allows continued hiking while promoting healing.
Pain management becomes crucial for maintaining hiking ability after blister treatment. Over-the-counter pain relievers like ibuprofen provide both pain relief and anti-inflammatory benefits that can reduce swelling around the affected area. I also adjust my hiking technique slightly, favoring the unaffected foot and taking more frequent breaks to prevent compensation injuries. This conservative approach has allowed me to complete planned itineraries even after significant blister development.
Monitoring treated blisters for signs of infection represents a critical ongoing responsibility. I check treated areas twice daily, looking for increased redness, warmth, red streaking, or unusual discharge. Any of these symptoms warrants immediate evacuation to professional medical care, as serious medical emergencies in wilderness settings require prompt attention. Fortunately, proper field treatment prevents most complications if applied correctly and maintained diligently.
Advanced Blister Treatment Techniques
For serious hikers undertaking extended wilderness expeditions, mastering advanced techniques for treating blisters on trail can mean the difference between completing your journey and requiring emergency evacuation. These methods require additional training and equipment but provide superior outcomes in challenging situations where basic treatment proves insufficient.
The needle aspiration technique, when performed correctly, allows drainage of large, painful blisters while preserving the protective roof. I sterilize a needle using flame or alcohol, then puncture the blister at its base (lowest point) to allow gravity-assisted drainage. Multiple small holes work better than one large puncture, as they're less likely to tear the delicate roof skin. After drainage, I apply antibiotic ointment and protective dressing, often achieving immediate pain relief and improved mobility.
Professional First Aid Kit - Complete Blister Treatment SuppliesThread drainage represents an ultralight backpacker's solution for continuous fluid removal. This technique involves threading sterile thread or thin paracord through the blister using a needle, leaving the thread in place to provide ongoing drainage. While effective for large blisters on extended trips, this method requires excellent sterile technique and carries higher infection risk than standard approaches. I reserve this technique for emergency situations where traditional treatment has failed.
Taping strategies become crucial when dealing with recurring problems or high-stress hiking conditions. Leukotape, applied directly to clean, dry skin, provides superior adhesion and durability compared to standard medical tape. I apply this tape preventively to known problem areas or therapeutically over treated blisters. The tape must be applied with proper tension - tight enough to prevent movement but not so tight as to restrict circulation. This technique has proven invaluable during long-distance hiking where daily foot care becomes routine.
For severe cases involving multiple blisters or compromised mobility, evacuation planning becomes necessary. I maintain emergency communication devices on extended trips and have predetermined evacuation routes mapped for different trail segments. Understanding your limits and recognizing when professional medical intervention becomes necessary demonstrates mature outdoor judgment. Remember that wilderness safety extends beyond immediate medical concerns to include your ability to self-rescue if conditions deteriorate.
Essential Gear for Blister Prevention and Treatment
Carrying the right equipment for treating blisters on trail requires balancing weight considerations with comprehensive coverage of likely scenarios. My current kit has evolved through years of field testing and represents the minimum effective gear for serious blister management without excessive pack weight. Each item serves multiple purposes and has proven reliable under challenging conditions.
My Complete Trail Blister Kit
Prevention Items:
- Liner socks (2 pairs minimum)
- Hiking socks (synthetic or merino wool)
- Foot powder or lubricant
- Leukotape for preemptive protection
Treatment Supplies:
- Moleskin pads (various sizes)
- Sterile needles and alcohol wipes
- Antibiotic ointment packets
- Adhesive bandages and gauze
Moleskin remains the cornerstone of effective blister treatment, providing durable padding that conforms to foot contours while maintaining adhesion in wet conditions. I carry several sheets of different thicknesses, allowing customization based on blister severity and location. Pre-cutting common shapes during gear preparation saves valuable time during actual treatment sessions. Quality moleskin should feel substantial but not bulky, with adhesive that bonds reliably to clean skin without causing irritation upon removal.
Premium Moleskin Padding Set - Multi-Size Pack for All Trails!Antibiotic ointment serves dual purposes in blister management: preventing infection in open wounds and providing lubrication that reduces friction during treatment application. Single-use packets eliminate contamination concerns while maintaining freshness longer than tubes in pack environments. I prefer broad-spectrum formulations that address common skin bacteria without causing allergic reactions in most users.
Sock selection deserves careful consideration as your primary prevention tool. I maintain a strict rotation schedule, changing socks every 12-24 hours depending on conditions and activity level. Clean, dry socks dramatically reduce blister risk while improving overall foot health and comfort. Merino wool blends offer excellent moisture management and odor resistance, while synthetic materials provide durability and quick-drying properties. Having multiple pairs allows for washing and drying rotation on extended trips.
Top-Rated Hiking Socks - Moisture-Wicking & Blister Prevention!Additional considerations include carrying backup footwear for camp use, allowing your primary hiking boots to dry thoroughly overnight. Lightweight camp shoes or sandals provide relief for treated feet while maintaining the ability to walk safely around camp. This strategy becomes particularly valuable when dealing with multiple blisters or seeking to prevent additional problems during extended trips. Remember that proper foot care continues throughout your entire hiking journey, not just during active treatment sessions.
Conclusion
Mastering the art and science of treating blisters on trail transforms challenging hiking experiences into manageable adventures. Through my years of wilderness travel, from desert expeditions to alpine adventures, I've learned that successful blister management relies on understanding the underlying mechanisms, implementing proven prevention strategies, and responding quickly to early warning signs.
The key insight that revolutionized my approach was recognizing that blisters result from internal shear forces rather than simple surface friction. This understanding shifted my focus to proper footwear fit, effective sock systems, and foot conditioning rather than merely attempting to toughen skin surfaces. Prevention remains infinitely easier than treatment, but when blisters do develop, prompt and appropriate intervention allows continued hiking while minimizing complications.
Remember that every hiker's feet present unique challenges requiring personalized solutions. What works perfectly for alpine conditions may need modification for desert environments or humid coastal trails. The techniques and gear recommendations in this guide provide a solid foundation, but adaptation based on personal experience and specific trip requirements remains essential for optimal results.
Most importantly, approach blister management with the same respect you'd give any wilderness medical concern. Proper preparation, quality equipment, and sound judgment in the field prevent minor foot problems from escalating into trip-ending emergencies. Your feet carry you through incredible wilderness experiences - they deserve the careful attention and proactive care that enables countless miles of safe, comfortable hiking adventures.
Ready for Your Next Adventure?
Armed with these proven techniques for treating blisters on trail, you're prepared to tackle any hiking challenge with confidence. Remember: proper preparation prevents poor performance!
Happy trails, and may your feet carry you safely to amazing destinations!