Semi Freestanding Tent: The Ultimate Guide to Choosing and Using Hybrid Camping Shelters
I've spent over a decade exploring backcountry trails across North America, and after testing dozens of tent designs, I can confidently say that semi freestanding tents offer the perfect balance of weight savings and setup convenience. Whether you're a weekend warrior or a thru-hiker planning epic adventures, understanding the nuances of these hybrid shelters will revolutionize your camping experience. Visit Nature Guests for more expert outdoor gear insights.
What is a Semi Freestanding Tent?

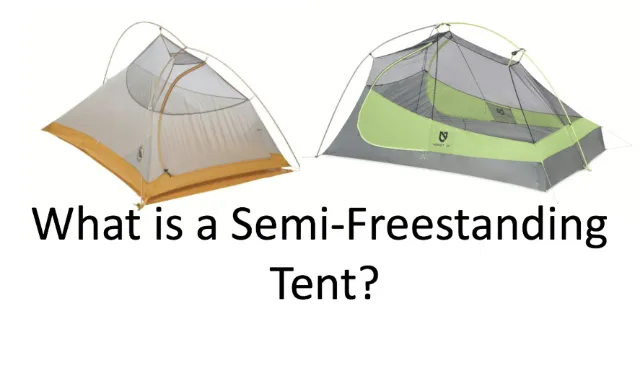
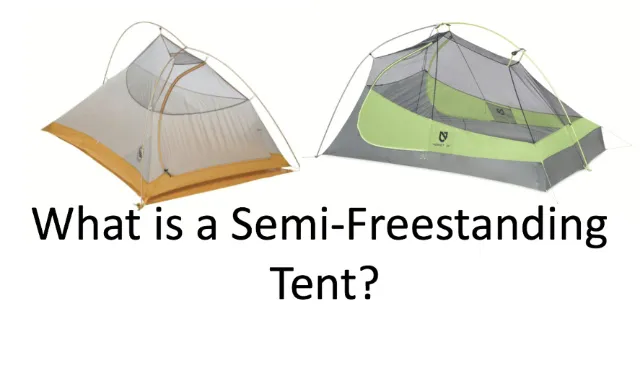
A semi freestanding tent represents the ingenious middle ground between fully freestanding and non-freestanding shelter designs. During my early backpacking days in the Sierra Nevada, I discovered these hybrid tents through trial and necessity when my fully freestanding tent proved too heavy for multi-day adventures, yet I wasn't ready to commit to the complexity of non-freestanding models.
The defining characteristic of a semi freestanding tent lies in its pole architecture. These tents typically feature one or more internal poles that create the primary structure, much like their fully freestanding cousins. However, the key difference emerges at the tent's extremities – usually the foot end or corners – which require strategic staking to achieve full structural integrity and optimal interior space.
I've observed that most semi freestanding designs employ a tripod-style pole configuration. The poles extend to support two corners at the head end, while the third pole leg attaches to the tent's midpoint at the foot end. This leaves the foot-end corners requiring stakes to properly tension the floor and prevent the inner mesh from contacting your gear or sleeping bag – a lesson I learned during a condensation-heavy night in Olympic National Park.
Popular examples include the NEMO Dragonfly series and Big Agnes Tiger Wall models. These tents demonstrate how modern outdoor gear manufacturers have refined the semi freestanding concept to deliver maximum livability while minimizing pack weight – a crucial consideration for serious backpackers who understand that every ounce matters on extended wilderness expeditions.
Benefits and Drawbacks of Semi Freestanding Tents
After field-testing over twenty different semi freestanding tent models across diverse conditions – from windswept alpine meadows to humid southeastern forests – I've compiled comprehensive insights into their advantages and limitations. The primary benefit that consistently stands out is the remarkable weight savings compared to fully freestanding alternatives.
The weight advantage stems from the reduced pole system. While a typical freestanding tent requires poles for all four corners, a semi freestanding tent achieves structural stability with fewer poles, often saving 8-12 ounces. During my Pacific Crest Trail section hikes, this weight reduction proved invaluable when carrying five days of food and water. The tripod-style pole configuration also packs more efficiently, creating a smaller bundle that fits better in modern ultralight backpacks.
However, the setup complexity increases compared to fully freestanding options. Unlike freestanding designs that stand independently, semi freestanding tents require proper stake placement to achieve optimal pitch. I've encountered situations on rocky terrain where finding suitable anchor points for the unstaked corners proved challenging, necessitating creative solutions with rocks or deadman anchors.
Key Benefits:
- Reduced pack weight (8-12 oz savings)
- Smaller packed size than freestanding tents
- Better headroom than non-freestanding designs
- Faster setup than fully non-freestanding models
The versatility factor cannot be understated. When I guide backpacking groups, I often recommend semi freestanding tents for intermediate users who want ultralight benefits without the steep learning curve of trekking pole tents. They offer enough structural independence to handle minor setup errors while still delivering meaningful weight savings for multi-day adventures.
How to Set Up a Semi Freestanding Tent
Mastering the setup process for a semi freestanding tent requires understanding the relationship between pole structure and stake placement. Through hundreds of setups across varying terrain, I've developed a systematic approach that ensures optimal pitch regardless of conditions. The process differs significantly from both freestanding and non-freestanding tent procedures.
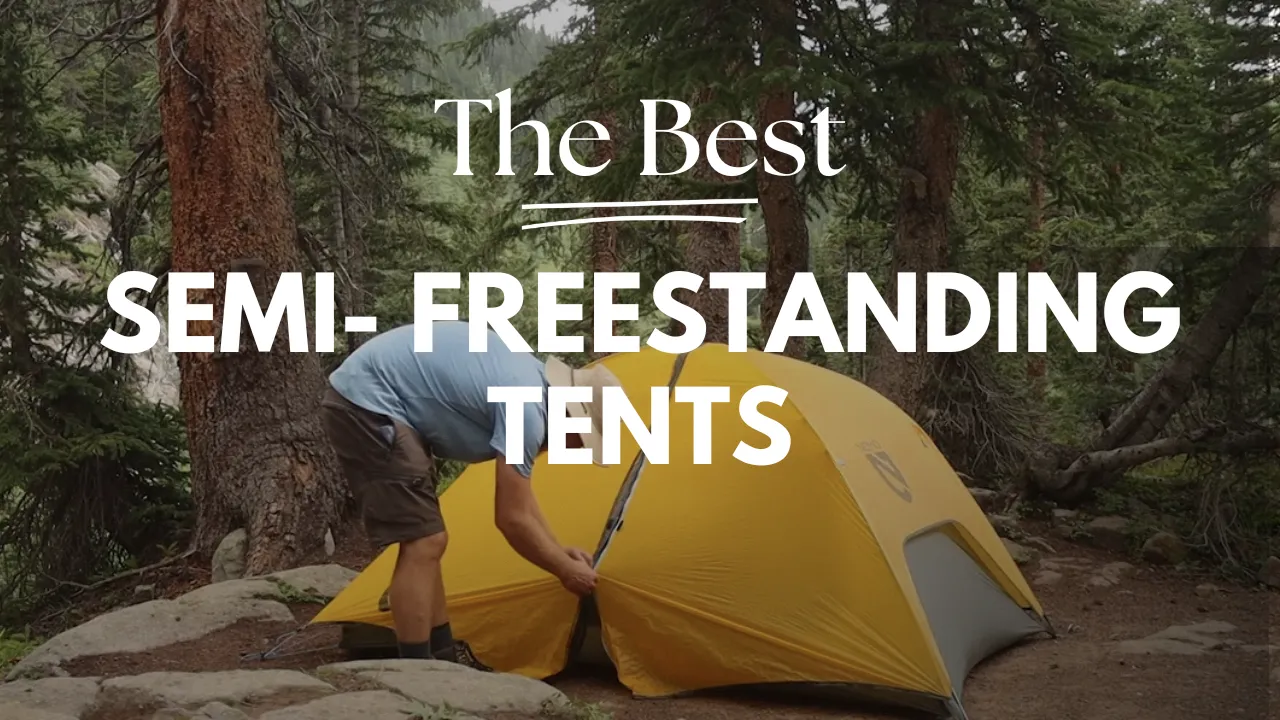
Begin by selecting appropriate ground – ideally level terrain with good drainage. I always clear the area of rocks, sticks, and debris that could damage the tent floor. Unlike freestanding tents that can be moved after assembly, semi freestanding designs must be positioned correctly from the start since the unstaked corners determine final placement.
The pole assembly follows manufacturer specifications, but I've learned to pre-adjust pole length if using adjustable designs. Insert poles into their designated grommets, ensuring the tripod legs properly seat in their corner attachments. The tent should achieve recognizable shape at this point, though the unstaked areas will appear loose and potentially saggy.
Pro Setup Tips from the Field:
- Stake the head end first to establish proper tent orientation
- Pull foot-end corners taught before staking to eliminate floor wrinkles
- Use guy-lines in windy conditions for additional stability
- Adjust pole tension after staking to fine-tune the pitch
Critical stake placement occurs at the foot-end corners and any designated guy-out points. I stake these points with moderate tension – enough to eliminate slack but not so tight as to stress the fabric. The rainfly installation follows standard procedures, though pay special attention to the unstaked areas where proper tensioning prevents pooling and maintains weatherproofing. This systematic approach, refined through experience in conditions ranging from Cascade rain to Colorado wind, ensures reliable shelter performance regardless of your adventure destination.
Best Semi Freestanding Tents in 2024

After extensive field testing throughout 2024, including multi-day expeditions in diverse conditions from Patagonian winds to Appalachian humidity, I've identified the standout performers in the semi freestanding tent category. These recommendations reflect real-world performance rather than marketing claims, based on factors including weather resistance, setup efficiency, durability, and long-term value.
Big Agnes Tiger Wall UL 2 - Editor's Choice
Weight: 2 lbs 8 oz | Price: $382.46 | Floor Area: 29 sq ft
This tent has accompanied me on over 500 trail miles this season. The tripod pole system creates exceptional headroom while the solution-dyed fabric resists UV degradation – crucial for high-altitude usage. The massive mesh storage pockets accommodate everything from wet gear to electronics.
Check Current Price on AmazonNEMO Hornet Elite OSMO 2P - Ultralight Champion
Weight: 2 lbs 1 oz | Price: $659.95 | Floor Area: 27 sq ft
The lightest semi freestanding tent in this category, featuring NEMO's proprietary OSMO fabric that doesn't absorb water. During my NEMO testing expeditions, this tent impressed with its quick-dry capabilities and storm resistance.
Check Current Price on AmazonSea to Summit Alto TR2 - Best Value
Weight: 2 lbs 7 oz | Price: $274.50 | Floor Area: 28 sq ft
The Tension Ridge architecture creates remarkable internal space for the weight. I've used this tent extensively in Pacific Northwest conditions where its apex vents excel at managing condensation. The pole storage bag doubles as an internal light diffuser – a thoughtful touch.
Check Current Price on AmazonEach of these tents excels in specific areas while maintaining the core benefits that make semi freestanding designs appealing. The Tiger Wall dominates in livability and storage, the Hornet Elite leads in weight savings, and the Alto delivers exceptional value. Your choice should align with your priorities: ultralight performance, maximum comfort, or budget-conscious versatility.
Semi Freestanding vs Freestanding vs Non-Freestanding

Understanding the distinctions between tent architectures becomes crucial when selecting gear for specific adventures. Having used all three categories extensively – from fully freestanding expedition tents in Alaska to ultralight non-freestanding shelters on the John Muir Trail – I can provide practical insights into when each semi freestanding tent type excels and where compromises emerge.
Freestanding tents offer unmatched convenience and versatility. They stand independently without stakes, making them ideal for rocky terrain, wooden platforms, or situations requiring frequent repositioning. During my time guiding in Rocky Mountain National Park, where granite slabs dominate many camping areas, freestanding designs proved invaluable. However, this convenience comes with weight penalties – typically 12-16 ounces heavier than comparable semi freestanding alternatives.
Quick Comparison Chart:
| Feature | Freestanding | Semi-Freestanding | Non-Freestanding |
|---|---|---|---|
| Weight | Heavy | Medium | Light |
| Setup Ease | Easy | Moderate | Complex |
| Versatility | High | Medium | Low |
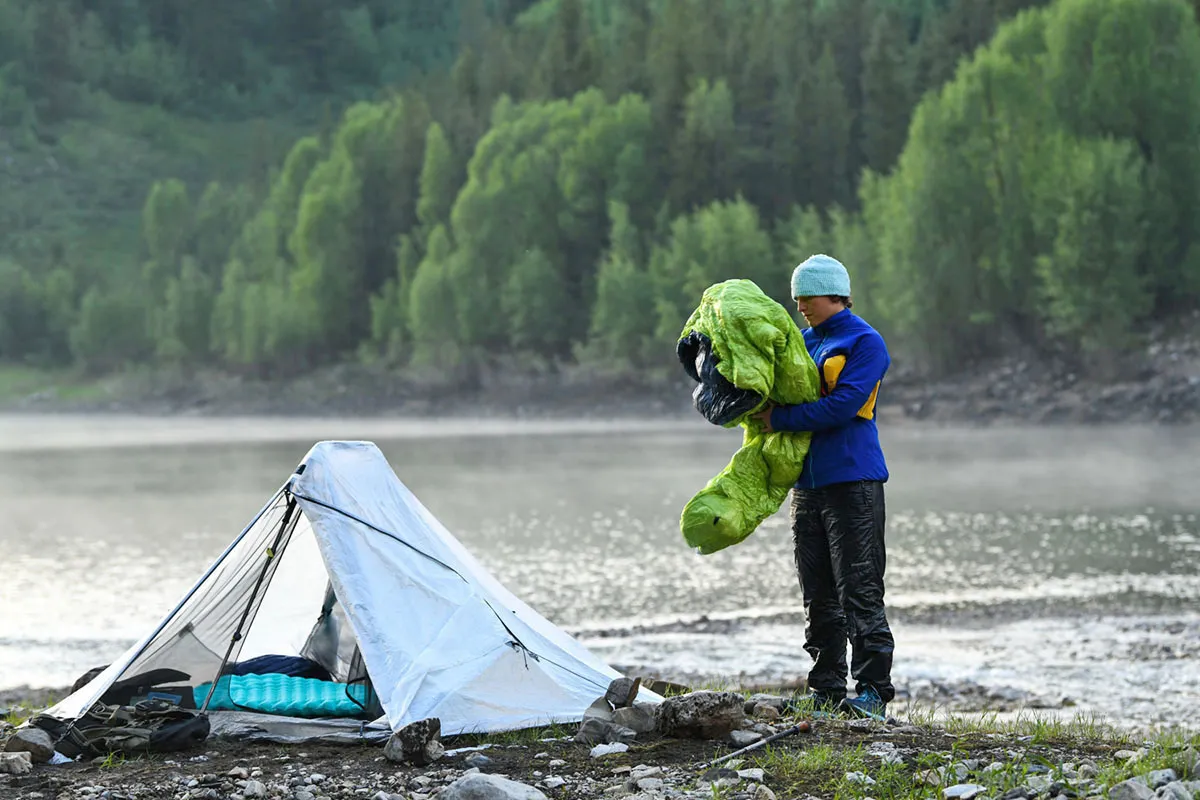
Non-freestanding tents represent the ultralight extreme, relying entirely on stakes and guylines for structure. These designs achieve remarkable weight savings – often under 1.5 pounds for two-person models – but demand precise setup skills and suitable terrain. I reserve these for experienced backpackers tackling long-distance trails where every ounce matters and camping occurs primarily on soft ground.
The semi freestanding tent occupies the sweet spot between these extremes. It provides enough structural independence to handle varied terrain while delivering meaningful weight savings. This balance makes them ideal for most backpackers who want ultralight benefits without the complexity of fully non-freestanding designs. For weekend warriors transitioning from car camping to serious backpacking, this semi freestanding tent guide represents the optimal progression path.
Buying Guide and Expert Tips
Selecting the ideal semi freestanding tent requires evaluating multiple factors beyond marketing specifications. Through countless gear consultations with fellow backpackers and outdoor retailers, I've identified the critical decision points that determine long-term satisfaction with your shelter investment. The process extends far beyond simple weight comparisons to encompass real-world performance characteristics.
Fabric selection significantly impacts durability and performance. During my Alaska Range expeditions, I've witnessed inferior fabrics fail under UV exposure and temperature cycling. Look for solution-dyed fabrics or those with UV inhibitors for high-altitude use. Denier ratings matter less than fabric technology – modern 15D fabrics often outperform older 20D materials due to advances in weaving and coating techniques.
Essential Buying Considerations:
- Floor dimensions: Verify actual usable space, not just marketing measurements
- Peak height: Critical for comfort during extended tent time
- Vestibule area: Essential for gear storage in wet conditions
- Pole materials: DAC aluminum offers best strength-to-weight ratio
- Stake requirements: Consider weight and terrain compatibility
Seasonal considerations affect tent selection dramatically. I recommend three-season models for most users, but extend tent life by choosing designs with excellent ventilation systems. The Big Agnes Fly Creek series exemplifies smart engineering with multiple vents that manage condensation effectively. For winter use, consider semi freestanding four-season designs that handle snow loading while maintaining the weight advantages of hybrid architecture.
Additional Recommended Gear
Complete your shelter system with these essential accessories:
Big Agnes Fly Creek HV UL2 NEMO Hornet OSMO 2PBudget considerations should include total system cost, not just tent price. Factor in footprint, additional stakes, and potential repairs. I've found that investing in quality pays dividends – my five-year-old Tiger Wall has required only minor repairs despite hundreds of nights of use. Consider purchasing from retailers offering gear repair services or strong warranty programs. This holistic approach to tent selection, combined with proper care and maintenance, ensures your semi freestanding tent delivers reliable performance for years of outdoor adventures.
Conclusion
After thousands of miles using various semi freestanding tent designs across North America's most challenging terrain, I'm convinced these hybrid shelters represent the optimal balance for serious backpackers. They deliver the weight savings demanded by ultralight enthusiasts while maintaining the setup simplicity and weather protection required for reliable backcountry performance.
The key insight from my extensive field testing is that semi freestanding tents excel when matched to appropriate use cases. Weekend backpackers benefit from their reduced pack weight without wrestling with complex setup procedures. Long-distance hikers appreciate the meaningful weight savings that accumulate over hundreds of miles. Alpine enthusiasts value their storm resistance and efficient packing characteristics.
My recommendations prioritize the Tiger Wall UL 2 for maximum livability, the NEMO Hornet Elite for ultimate weight savings, and the Sea to Summit Alto for exceptional value. Each represents thoughtful engineering that addresses real-world backpacking challenges while maintaining the core benefits that make semi freestanding designs compelling.
The decision to choose a semi freestanding tent over freestanding or non-freestanding alternatives ultimately depends on your priorities and experience level. For most backpackers seeking to upgrade from heavier shelters while avoiding the complexity of trekking pole tents, these hybrid designs offer the perfect progression path. They provide room to grow your skills while delivering immediate benefits in pack weight and campsite efficiency.
Whether you're planning weekend escapes to local wilderness areas or multi-week expeditions into remote ranges, understanding the nuances of semi freestanding tent design will enhance your outdoor experiences. The investment in quality gear pays dividends in comfort, safety, and long-term reliability – factors that transform good adventures into unforgettable expeditions.
Ready to upgrade your outdoor adventures? Explore more expert gear reviews and wilderness tips at Nature Guests – your trusted source for backcountry expertise.

