

When I first encountered a severe ankle sprain during a remote hike in the Rocky Mountains, I realized how crucial proper emergency treatment knowledge is for every outdoor enthusiast. This comprehensive guide covers essential techniques for dealing with sprains mid-hike, from immediate assessment to safe evacuation strategies. Whether you're exploring Nature Guests trails or venturing into backcountry wilderness, these proven methods can mean the difference between a manageable injury and a trail-ending emergency.

Immediate Assessment and Emergency Response
When dealing with sprains mid-hike, the first few minutes are absolutely critical for determining the severity and preventing further injury. I've learned this lesson firsthand during my years guiding hikers through challenging terrain in the Pacific Northwest, where uneven surfaces and weather conditions create perfect storms for ankle injuries.
The moment a sprain occurs, immediately stop all movement and assess the situation. Don't attempt to "walk it off" – this common mistake can transform a minor Grade 1 sprain into a severe Grade 3 injury requiring surgical intervention. I remember guiding a group through Olympic National Park when one hiker rolled their ankle on a loose rock. Their initial instinct was to continue hiking, but proper assessment revealed significant swelling and instability that required immediate treatment.
Recognizing Sprain Severity Levels
Understanding sprain classifications is essential for dealing with sprains mid-hike effectively. Grade 1 sprains involve ligament stretching with minimal pain and swelling, allowing for continued weight-bearing with proper support. Grade 2 sprains feature partial ligament tears, moderate pain, and noticeable swelling that limits mobility. Grade 3 sprains involve complete ligament rupture, severe pain, significant swelling, and complete inability to bear weight.
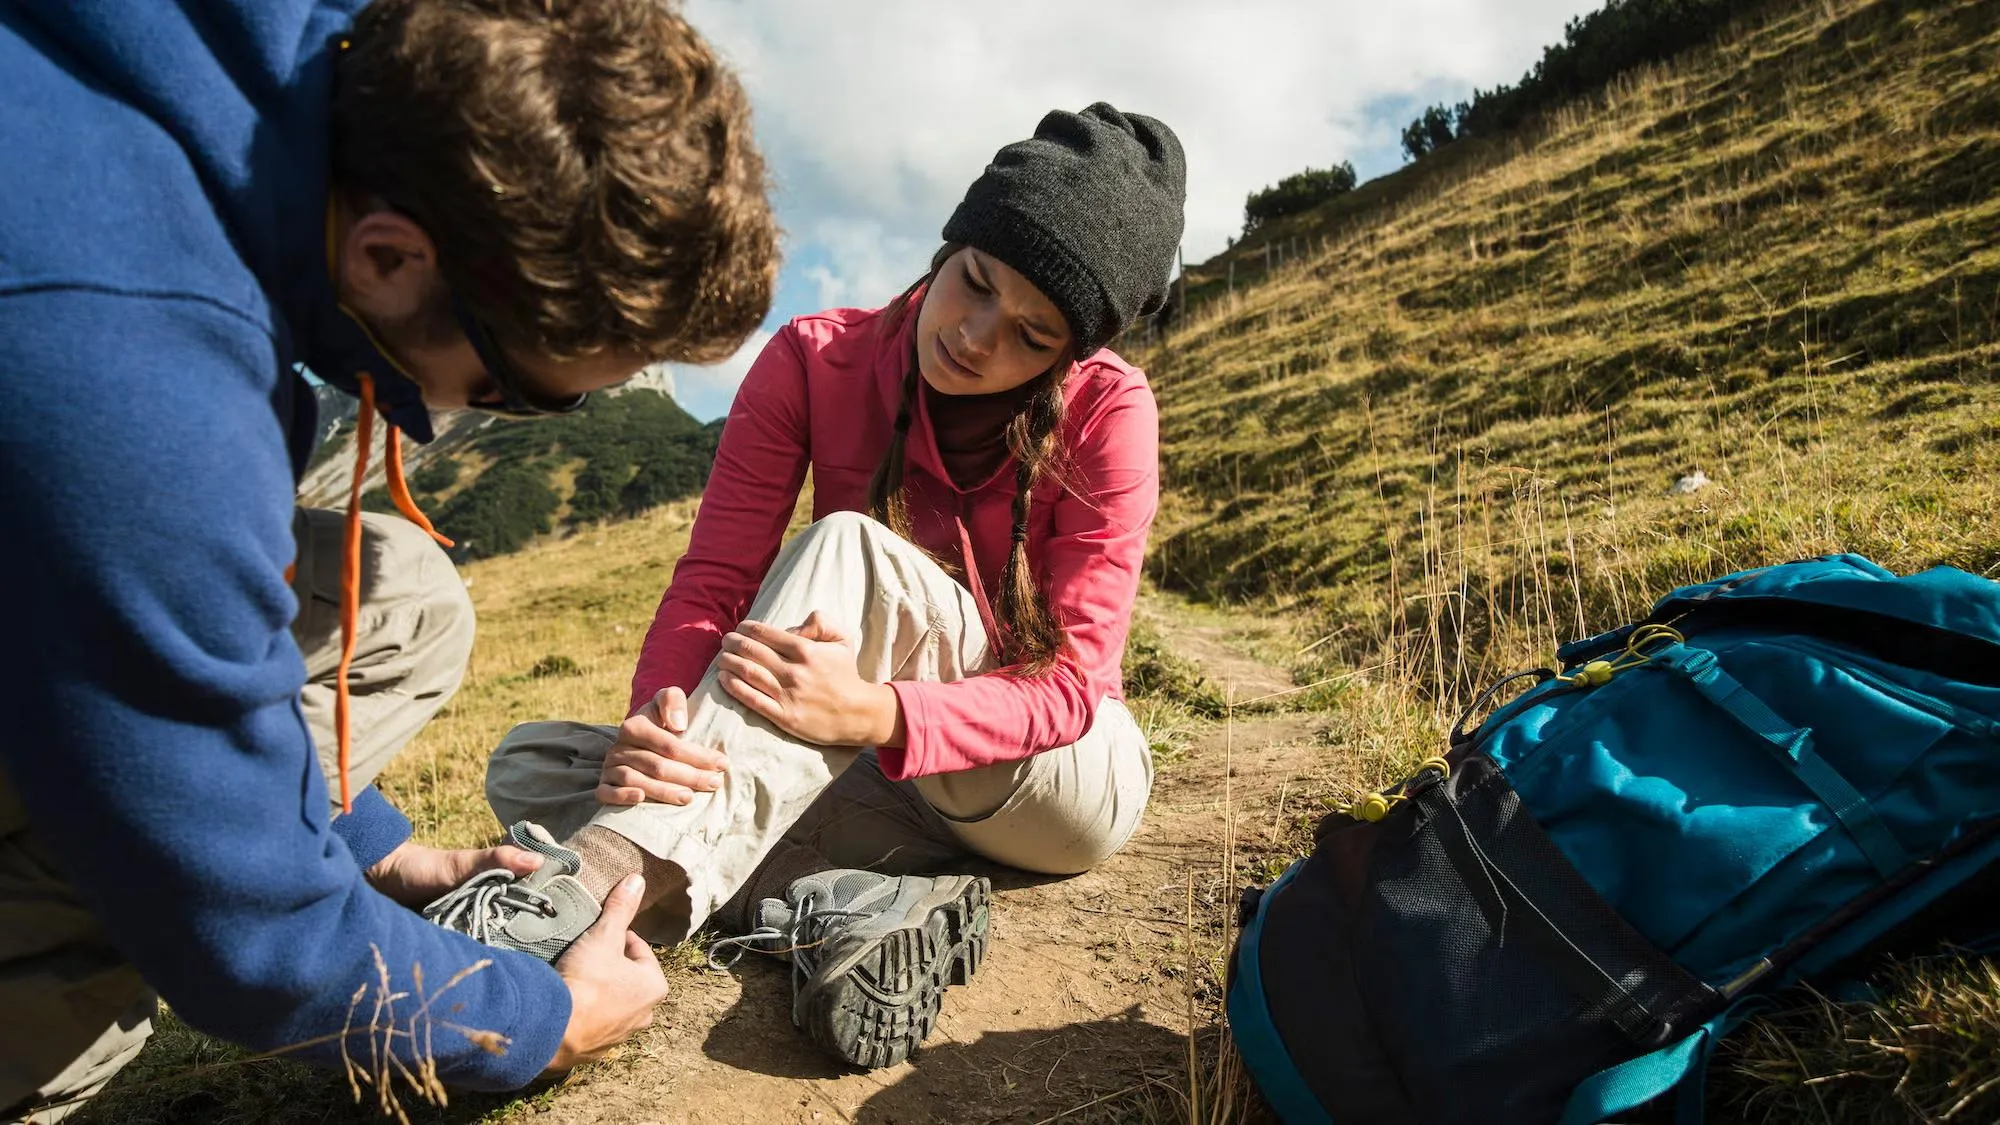
To assess severity, carefully remove the boot and sock while supporting the ankle. Look for immediate swelling, bruising, or visible deformity. Gently test range of motion – can the injured person move their foot up and down? Side to side? Pain with any movement suggests at least a Grade 2 sprain. If you hear a "pop" during the initial injury or notice severe instability, assume a Grade 3 sprain and begin immediate immobilization protocols.
Environmental factors significantly impact sprain treatment on the trail. Cold temperatures can mask pain initially but worsen injury progression. High altitude affects circulation and healing capacity. Wet conditions make immobilization more challenging and increase infection risk. Weather changes can turn a manageable evacuation into a life-threatening emergency, making quick, decisive action crucial when dealing with sprains mid-hike.
⚠️ Warning Signs Requiring Immediate Evacuation
- Visible bone deformity or suspected fracture
- Complete inability to bear any weight
- Numbness or tingling in toes
- Loss of pulse in the foot
- Severe pain that doesn't respond to treatment
The RICES Method for Trail Treatment
The RICES protocol remains the gold standard for dealing with sprains mid-hike, but implementation in wilderness settings requires adaptation and creativity. Having personally applied these techniques in environments ranging from desert canyons to alpine meadows, I can attest to their effectiveness when properly executed with available resources.
Rest: Immediate Activity Cessation
Rest doesn't simply mean stopping – it requires strategic positioning and protection from further injury. When dealing with sprains mid-hike, find or create a comfortable position away from trail traffic. If available, use a lightweight camping chair or create a seated position against a large rock or tree. Remove the injured foot from any weight-bearing position immediately. The key is absolute rest for at least 15-20 minutes while implementing other RICES components.
Ice: Creative Cold Therapy Solutions
Ice application presents unique challenges in backcountry settings. During winter hikes, natural snow provides excellent cold therapy – pack it in a waterproof bag or bandana. For stream crossings or lake encounters, cold water immersion offers immediate relief. I've successfully used insulated water bottles filled with cold stream water as improvised ice packs. Chemical cold packs in first aid kits activate on demand but provide limited duration. Apply cold therapy for 15-20 minutes every 2-3 hours, always placing a barrier between ice and skin to prevent frostbite.
Compression: Field-Expedient Bandaging Techniques
Proper compression requires graduated pressure from toes to mid-calf, supporting the injured ligaments while maintaining circulation. Elastic bandages from your first aid kit provide optimal compression, but improvised alternatives work effectively. Extra clothing layers, particularly compression garments or hiking socks, can provide adequate pressure. When dealing with sprains mid-hike, start wrapping at the toes and work upward in overlapping figure-eight patterns. The compression should feel snug but allow normal circulation – check toe color and sensation every 30 minutes.
Elevation: Optimizing Circulation and Swelling Control
Elevation above heart level reduces blood flow to the injury site, minimizing swelling and pain. Use backpacks, gear bags, or natural features to create an elevated platform. I often construct elevation platforms using multiple backpacks covered with a sleeping pad for comfort. The injured ankle should remain elevated whenever possible during rest periods. This technique proves especially valuable when dealing with sprains mid-hike during extended breaks or overnight camping scenarios.
Stabilization: Critical for Prevention of Re-injury
The final "S" in RICES – stabilization – often determines treatment success in wilderness settings. Proper stabilization prevents the injured ligaments from experiencing additional stress during evacuation movements. Use rigid materials like tent stakes, trekking poles, or even sturdy sticks to create splinting frameworks. Secure these materials with duct tape, medical tape, or paracord. The goal is creating a functional ankle brace that allows for controlled movement while protecting healing tissues.
💡 Pro Tip: Trail-Tested RICES Adaptations
In my experience guiding groups through challenging terrain, successful sprain treatment often requires combining RICES elements simultaneously. For example, using an elevated compression system with continuous cold therapy while maintaining stabilization creates optimal healing conditions even in primitive trail settings.
Stabilization and Immobilization Techniques
Advanced stabilization techniques separate successful sprain management from amateur attempts that often worsen injuries. When dealing with sprains mid-hike, proper immobilization can mean the difference between walking out under your own power or requiring a rescue evacuation. These techniques require practice and confidence, which I strongly recommend developing before venturing into remote areas.
The stirrup splint represents the gold standard for ankle stabilization in wilderness settings. Create this system using two rigid objects like trekking poles or tent stakes positioned along each side of the ankle. Secure these supports with multiple wrapping layers, extending from mid-foot to mid-calf. This technique provides excellent lateral stability while allowing for some plantar flexion movement necessary for assisted walking.

Figure-eight taping provides excellent support for Grade 1 and some Grade 2 sprains when dealing with sprains mid-hike. Start at the mid-foot, wrap around the ankle bone, cross over the instep, loop under the arch, and return to the starting point. Repeat this pattern 3-4 times with 50% overlap. Athletic tape works best, but duct tape or medical tape can substitute in emergencies. This technique allows for controlled weight-bearing while preventing dangerous ankle inversion or eversion movements.
Improvised Ankle Brace Construction
Creating effective ankle braces from available gear requires creativity and understanding of biomechanical principles. I've successfully used everything from hiking boot laces to paracord for creating supportive structures. The key is distributing pressure evenly while maintaining circulation. Water bottles duct-taped to either side of the ankle create excellent rigid supports. Sleeping pad sections can be cut and formed into custom splints that conform to individual ankle anatomy.
Soft tissue protection becomes crucial during extended stabilization periods. Pad all rigid contact points with clothing, bandanas, or foam materials to prevent pressure sores and circulation problems. When dealing with sprains mid-hike over multiple days, regularly reassess the stabilization system for proper fit and function. Swelling changes throughout the day require adjustment of compression and support elements.
"During a challenging rescue operation in the Cascade Mountains, we improvised an ankle stabilization system using trekking poles, duct tape, and a cut sleeping pad. The injured hiker was able to walk 6 miles to the trailhead with minimal additional injury. Proper technique and quality materials make all the difference in wilderness medicine scenarios." - Personal Experience, Mt. Rainier National Park
Weight-Bearing Assessment and Progression
Determining when and how much weight the injured ankle can safely bear requires careful evaluation and progressive testing. Start with non-weight-bearing movement – can the injured person wiggle their toes and flex their foot without severe pain? Progress to partial weight-bearing with support from trekking poles or hiking companions. Full weight-bearing should only be attempted with proper stabilization and minimal pain levels.
The progression timeline varies significantly based on injury severity and individual healing factors. Grade 1 sprains may tolerate careful weight-bearing within hours of injury with proper support. Grade 2 sprains typically require 24-48 hours before attempting assisted walking. Grade 3 sprains demand complete non-weight-bearing until professional medical evaluation occurs. Understanding these progressions is essential when dealing with sprains mid-hike in extended backcountry scenarios.
Emergency Evacuation Strategies
Evacuation planning begins the moment you start dealing with sprains mid-hike, not when you decide the injury is too severe to continue. I've coordinated numerous backcountry evacuations, and the most successful outcomes result from early decision-making and systematic execution of well-rehearsed protocols. Time is critical – weather changes, fatigue, and injury progression can rapidly transform manageable situations into life-threatening emergencies.
Self-evacuation remains the preferred option when safely possible, as it typically provides the fastest route to medical care while avoiding the risks and delays associated with rescue operations. However, this requires honest assessment of the injured person's capabilities, group resources, and environmental conditions. Distance to the trailhead, terrain difficulty, daylight remaining, and weather forecasts all factor into evacuation decisions.
Assisted Walking Techniques
When the injured hiker can bear partial weight, assisted walking techniques can facilitate safe evacuation over considerable distances. The human crutch method involves one assistant on the injured side providing shoulder support while the injured person uses a trekking pole or improvised walking stick on the uninjured side. This technique works well for Grade 1 and some Grade 2 sprains when dealing with sprains mid-hike on relatively flat terrain.
The two-person assist provides maximum stability for more severe injuries or challenging terrain. Position one assistant on each side of the injured person, allowing them to place their arms around the assistants' shoulders while the assistants support their weight. This method distributes load effectively and provides excellent balance control. I've used this technique successfully for evacuations exceeding 8 miles in mountainous terrain.
Improvised Carry Systems
When walking is impossible, carry systems become necessary for evacuation. The backpack carry works well for shorter distances and lighter individuals. Remove the contents from the largest backpack, cut leg holes in the bottom, and create a makeshift seat. The injured person sits in the pack while the carrier wears it normally. This system works effectively for distances up to 2-3 miles with proper rest breaks.

The rope and tarp litter provides the most stable carry system for serious injuries but requires significant human resources. Use a durable tarp or tent floor as the base, reinforced with hiking poles or sturdy branches to create a stretcher frame. Secure the injured person with additional rope or gear straps. This system requires 4-6 people for safe operation but allows for evacuation over extended distances when dealing with sprains mid-hike in remote locations.
Communication and Rescue Coordination
Modern satellite communication devices have revolutionized backcountry rescue operations, but proper usage requires training and preparation. Personal locator beacons (PLBs) should only be activated for life-threatening emergencies. Satellite messengers allow for two-way communication with rescue personnel, enabling coordination of evacuation strategies and medical advice. Cell phones may work in some remote areas, particularly on ridges and peaks with line-of-sight to towers.
When requesting rescue assistance, provide specific location information including GPS coordinates, trail names, and distinctive landmarks. Describe the injury severity, current treatment provided, and evacuation resources available. Weather conditions and daylight remaining significantly impact rescue operations. Understanding that rescue teams may require several hours to reach remote locations helps in planning interim care and stabilization efforts.
🚨 Emergency Evacuation Decision Tree
- Grade 1 Sprain: Self-evacuation with support and frequent rest breaks
- Grade 2 Sprain: Assisted evacuation, consider rescue if distance >5 miles
- Grade 3 Sprain: Non-weight-bearing evacuation, likely rescue required
- Suspected Fracture: Immediate rescue activation, complete immobilization
Essential Gear for Sprain Treatment
Proper equipment preparation dramatically improves outcomes when dealing with sprains mid-hike. After years of backcountry travel and wilderness medicine experience, I've refined my gear selections to include items that serve multiple purposes while maintaining minimal weight and bulk. The key is choosing high-quality items that perform reliably in challenging conditions while being simple enough for stressed users to operate effectively.
Every hiker should carry a basic ankle support system regardless of experience level or destination difficulty. Ankle injuries can occur on the simplest trails due to momentary lapses in attention or unexpected surface conditions. Weather changes can create hazardous conditions on previously safe terrain. Having proper gear available allows for immediate treatment that prevents minor injuries from becoming major problems.
Professional-Grade Ankle Support Systems
The Bodyprox Ankle Support Brace represents an excellent balance of support, comfort, and packability for backcountry use. Its breathable neoprene construction provides consistent compression while the adjustable straps allow for customization based on swelling and comfort needs. I've used this brace personally during extended backpacking trips and recommended it to countless clients. The one-size-fits-most design accommodates various foot sizes and can be easily shared among group members if needed.
🥇 Recommended: Bodyprox Ankle Support Brace
Lightweight, breathable neoprene construction with adjustable compression. Perfect for trail emergencies and prevention. Fits both feet and works with most hiking boots.
🛒 Get Trail-Ready Protection →For more serious ankle instability issues or when dealing with sprains mid-hike in technical terrain, the Med Spec ASO Ankle Stabilizer provides maximum support and protection. This professional-grade stabilizer features figure-eight strapping systems that mimic athletic taping while providing consistent support throughout extended activity. The CoolFlex material prevents overheating during strenuous activity, and the bilateral design works for either foot.
💪 Professional Choice: Med Spec ASO Ankle Stabilizer
Professional-grade stabilization used by athletes and medical professionals. Maximum support for severe sprains and technical terrain. Made in USA with premium materials.
⚡ Maximum Trail Protection →Comprehensive First Aid Essentials
A well-equipped first aid kit specifically configured for sprain treatment should include elastic bandages, medical tape, instant cold packs, and pain relief medication. The Adventure Medical Kits Mountain Series provides comprehensive trauma care capabilities in a compact package designed for extended backcountry use. These kits include specialized items like SAM splints and cohesive bandages that prove invaluable when dealing with sprains mid-hike.
🏥 Complete Care Kit: Adventure Medical Kit
Comprehensive wilderness first aid kit with specialized sprain treatment supplies. Includes SAM splints, elastic bandages, cold packs, and detailed instruction guides.
🎯 Complete Trail Safety →Trekking poles deserve special mention as essential gear for both prevention and treatment of ankle injuries. Quality poles provide stability on uneven terrain, reducing the likelihood of sprains. When injuries occur, poles become invaluable for creating splints, providing walking support, and constructing carry systems. The Black Diamond Trail Ergo Cork Trekking Poles offer excellent durability and comfort while remaining lightweight enough for extended backcountry use.
🥾 Prevention & Treatment: Premium Trekking Poles
Dual-purpose hiking poles for injury prevention and emergency treatment. Cork grips, adjustable length, and lightweight aluminum construction. Essential for safe hiking.
🚀 Enhance Trail Safety →Prevention Through Proper Footwear
Footwear selection significantly impacts sprain risk and treatment options when dealing with sprains mid-hike. High-top hiking boots provide excellent ankle support but can be heavy and restrictive. Trail running shoes offer more freedom of movement but less protection. Gaiters protect against debris and provide minor additional ankle stability. The key is matching footwear to terrain difficulty and personal ankle stability history.
Modern hiking boots with integrated ankle support systems represent the optimal balance for most hikers. Look for boots with firm heel counters, adequate arch support, and quality materials that maintain structure over time. Proper fit is crucial – boots that are too loose allow excessive ankle movement, while overly tight boots restrict circulation and comfort. Always break in new boots thoroughly before attempting challenging hikes.
Consider that hypothermia can affect judgment and coordination, increasing sprain risk. Learn to recognize hypothermia symptoms while hiking to maintain optimal decision-making capabilities. Similarly, encounters with wildlife can cause sudden movements that lead to ankle injuries. Understanding bear safety tips for hiking and snake awareness on trails reduces the likelihood of panic-induced injuries. Even minor distractions from insect bite prevention efforts can lead to loss of footing and subsequent ankle injuries.
Conclusion
Mastering the skills for dealing with sprains mid-hike requires dedication, practice, and proper equipment preparation, but the investment pays dividends in both safety and confidence during backcountry adventures. Throughout my years of wilderness travel and guiding others through challenging terrain, I've witnessed firsthand how proper sprain treatment knowledge transforms potentially trip-ending emergencies into manageable situations that allow for safe evacuation and full recovery.
The techniques and equipment recommendations presented in this guide represent field-tested approaches that work reliably in real-world conditions. From immediate assessment protocols to advanced stabilization techniques, each method has been refined through practical application in diverse environments ranging from desert canyons to alpine peaks. The RICES protocol remains the foundation of effective sprain treatment, but successful implementation in wilderness settings requires adaptation and creativity with available resources.
Prevention remains the most effective strategy for dealing with sprains mid-hike. Proper conditioning, appropriate footwear, careful attention to terrain conditions, and conservative decision-making prevent the majority of ankle injuries. However, when injuries do occur, prompt recognition, systematic treatment, and sound evacuation planning ensure optimal outcomes even in challenging circumstances.
Remember that wilderness medicine skills require regular practice and refresher training to maintain proficiency. Consider taking formal wilderness first aid courses, practicing techniques with your regular hiking partners, and regularly updating your first aid kit contents based on seasonal conditions and trip duration. The skills and knowledge gained from proper preparation extend far beyond dealing with sprains mid-hike – they provide confidence and capability for handling various emergency situations that may arise during outdoor adventures.
For comprehensive information about other hiking safety topics and emergency preparedness strategies, visit this detailed guide on dealing with sprains mid-hike for additional resources and expert insights that can enhance your wilderness safety knowledge and outdoor experience enjoyment.
🏔️ Stay Safe on Every Adventure
Equipment preparation and knowledge are your best defenses against hiking injuries. Don't wait for an emergency to realize you're unprepared. Invest in quality gear and proper training today.
🛡️ Complete Your Trail Safety Kit